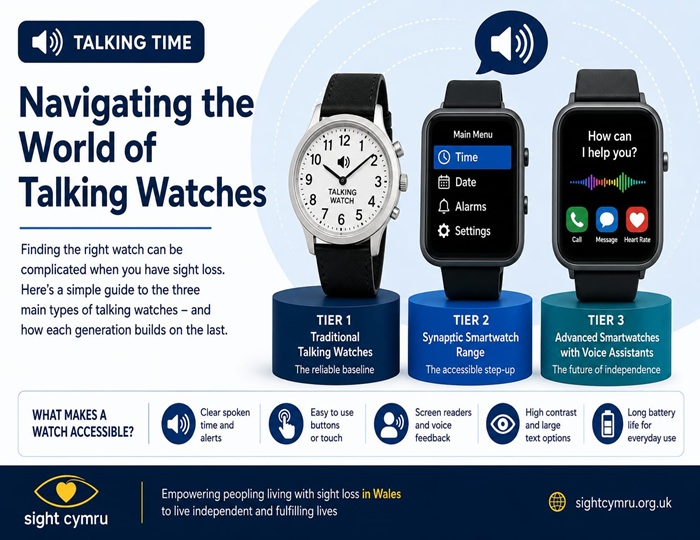


Talking Time: Navigating the World of Talking Watches
By John Marshall – Sight Cymru Digital Inclusion Officer

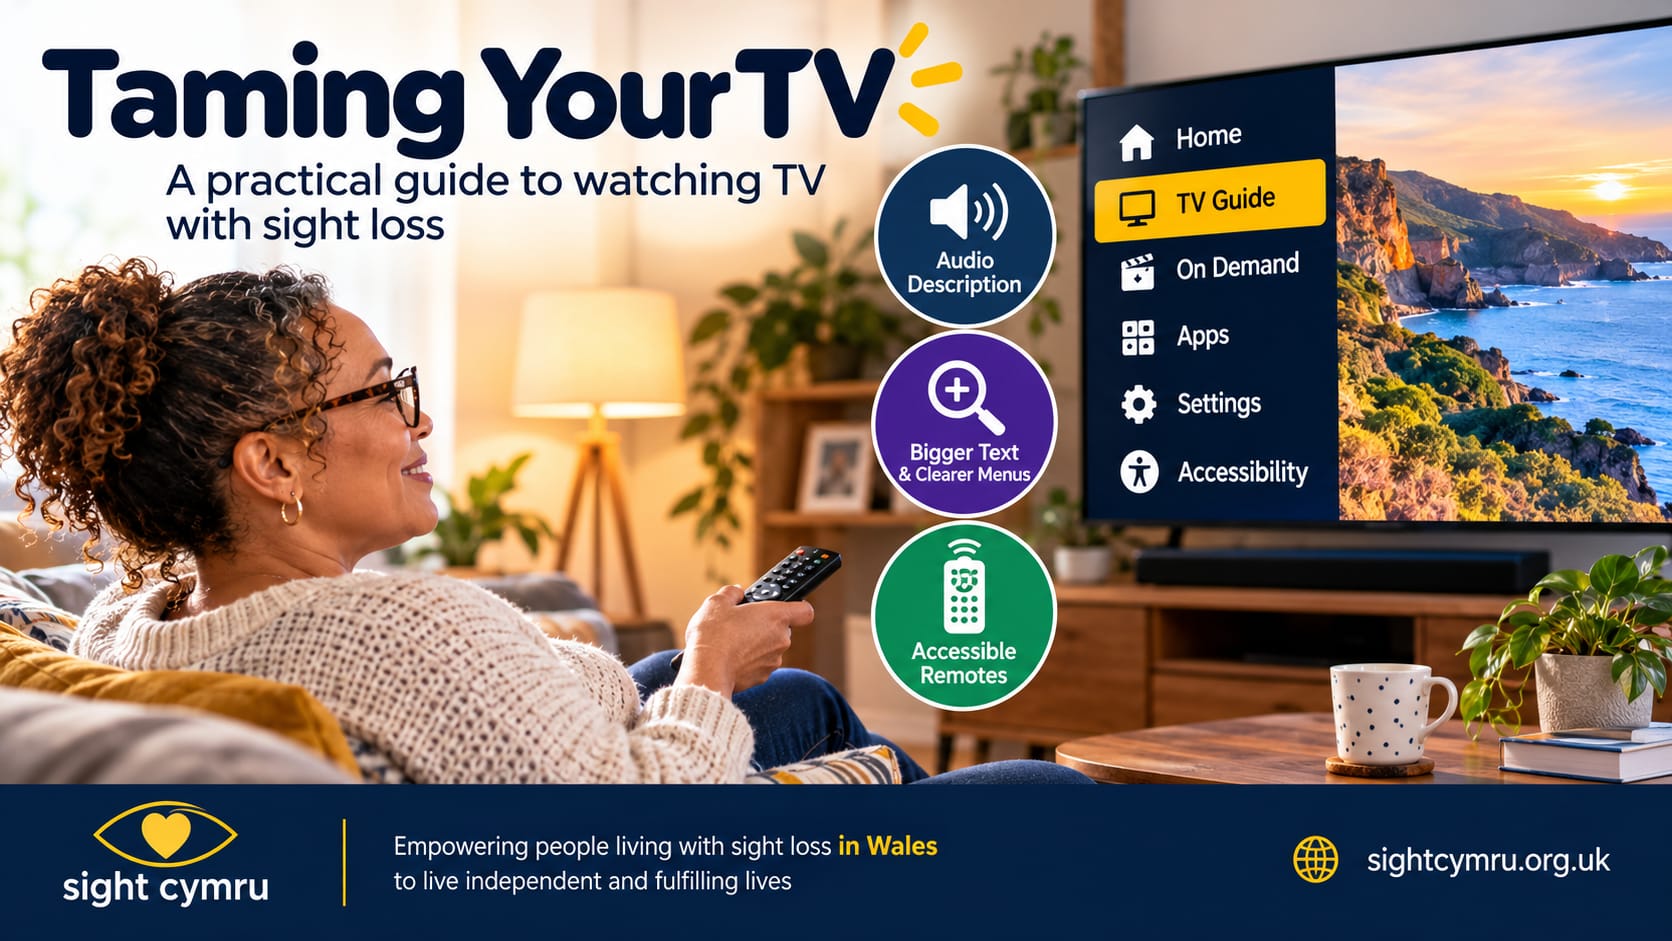
Let’s start with a gentle, honest reality check: if you’re living with sight loss, no setting on earth can magically restore your vision. Accepting changes to your sight is a deeply personal and often difficult journey, and we certainly won’t pretend a 65-inch screen holds a cure. What we can do, though, is stop you from wanting to throw the remote through that screen out of sheer frustration. With a few clever tweaks and the right setups, we can make watching TV significantly more comfortable, accessible, and far less draining on whatever sight you have.
Now, if you’ve ever tried to figure out which TV to actually buy, you already know the absolute minefield that is high-street shopping. Going into a mainstream electronics store when you’re visually impaired is an endurance exercise. You’re greeted by a wall of fifty blinding screens, all locked into hyper-bright “Store Demo” modes, while salespeople look at you with total blank stares the second you ask if a menu has a built-in screen reader or high-contrast mode. They don’t know, and testing those features on a crowded shop floor is practically impossible.
That’s where knowing the brand landscape saves you a lot of headache before you even drop a penny.
If you want a standalone TV out of the box, LG is generally considered top-tier for accessibility thanks to how well it integrates speech and magnification into webOS.
Sony and Panasonic models running Google TV also offer fantastic built-in screen reader support (via TalkBack), and Samsung holds its own with robust accessibility menus. Even budget brands like Hisense are making strides, though it’s a simple rule of thumb in the TV world: the lower the price tag, the more likely accessibility features are stripped back or hidden away in clunky sub-menus.
Then, of course, there’s the Sky ecosystem. If you’re looking at Sky Glass or using a Sky Q box, you’re getting some of the best dedicated accessibility features built right in—from high-contrast User-Interface options to full voice guidance, screen reader support, and direct voice search remotes that actually work. They are brilliant, feature-rich options, though they aren’t without their caveats; while the hardware and system navigation are top-notch, you can still run into the same broad industry frustration with Audio Description consistency, especially across certain third-party apps and on-demand titles. Plus, of course, they tie you into an ongoing Sky subscription rather than just buying an off-the-shelf set.
So, whether you’re sticking with your current box or eyeing up a new set, where do we actually begin making the screen work for you instead of against you?
1. Simple Picture Tweaks & The “Last Channel” Trick
Before you start digging through complicated sub-menus or shelling out for extra gadgets, the best place to start is with the settings already sitting inside your TV. A few quick adjustments to how your picture displays—and how your TV behaves when you switch it on—can make an immediate difference to your daily viewing comfort.
Ditching ‘Standard’ Mode (Beyond Factory Defaults)
When you pull a TV out of the box, it’s usually set to a default “Standard” or “Eco” picture mode. These settings are designed to save energy or look okay under bright showroom lights, but for a visually impaired viewer, they often result in a washed-out, flat image where text and fine details simply blend into the background.
Don’t be afraid to experiment with different presets:
• Cinema / Movie Mode: This often reduces harsh, glaring whites and boosts colour richness and contrast, making it much easier on sensitive eyes during long viewing sessions.
• Dynamic / Vivid Mode: While it can be a bit intense for some, this mode cranks up the contrast, colour saturation, and brightness to maximum. If you have low vision or reduced contrast sensitivity, this extra punch can make characters and text pop against dark backgrounds.
To test these out, look for a dedicated Picture Mode or Mode button right on your remote control, or head into your TV’s Picture Settings menu.
If presets aren’t quite right, you can also try Manual Tweaks: turning up the Contrast (to separate darks from lights) and slightly boosting the Brightness or Color/Saturation can help define edges and make faces or on-screen graphics significantly easier to track.
The “Last Channel” Trick: Bypassing the App Maze
Modern Smart TVs love to show off. The second you press the power button, most of them dump you straight onto a busy home screen packed with dozens of tiny app tiles, moving previews, and flashing advertisements. If you have limited vision, trying to navigate this visual noise just to watch the evening news can feel like trying to solve a puzzle in the dark.
Fortunately, almost every major TV brand has a setting to fix this:
a. Head into your TV’s General, System, or Power/Startup settings.
b. Look for an option called “Power On Behaviour” or “Home Screen Auto-Launch”.
c. Switch this setting from Home Screen to “Recent Input” or “Last Used Channel”.
By enabling this simple tweak, turning on your TV takes you straight back to the last broadcast channel or set-top box you were using. No clutter, no tiny icons to squint at, and no accidental clicks into random apps—just instant viewing using your simple channel up/down buttons or number pad.
2. Remote Controls: Tactile Cues, Voice Commands, and Universals
Even if your TV picture looks great, you still need a hassle-free way to control it. For many visually impaired viewers, standard modern remotes are a nightmare—they’re often flat, sleek, and covered in tiny, identical buttons that feel completely indistinguishable from one another.
However, some mainstream manufacturers have actually paid attention to tactile design. LG’s Magic Remote and Samsung’s Smart Remotes, for instance, feature distinct physical cues right out of the box. Instead of flat buttons, they use raised, tactile + and – switches for volume, alongside raised up and down arrows for channel controls. Many of these remotes also include built-in raised tactile bumps on key buttons (like the number 5 pad) and raised Braille indicators next to power or guidance keys, giving your thumb instant orientation without you having to look down.
Tactile Cues & Simple DIY Hacks
If your remote doesn’t have these built-in tactile features, you don’t always need to buy new equipment to make it accessible:
• Tactile Bump Dots: Small, raised adhesive dots (available in various colours and textures) can be stuck onto key buttons like Power, Channel Up, or Volume Up. This gives your fingers clear landmarks.
• Braille Stickers: Clear adhesive Braille overlays can be applied over specific control buttons without blocking any underlying labels.
• Feeling for the ‘5’ Key: Most traditional remotes have a small raised tactile bump on the 5 key. Once your thumb finds it, you can easily locate the surrounding numbers.
Voice Control: Talking to Your TV
For many, bypassing physical buttons altogether is the ultimate shortcut:
• Direct Commands: Simply holding down the microphone button and saying “Go to BBC One,” “Volume 20,” or “Open Netflix” saves you from hunting through menus or searching for channel numbers.
• Smart Assistants: Models integrated with Siri, Google Assistant, or Alexa allow for even broader control, such as asking “What show is on right now?” or searching for content hands-free.
Universal & Simplified Remotes
If your original remote is a bit too cluttered, switching to a stripped-back universal option can make a world of difference. Sight loss organisations stock several great models designed specifically for accessibility.
For instance, remotes like the Geemarc TV10 feature extra-large, high-contrast, programmable buttons that remove all the unnecessary clutter, leaving you with just big, easily visible keys for power, volume, and channel changing. Another common choice is the Flipper Universal Remote, which exposes only six core buttons (Power, Channel Up/Down, Volume Up/Down, and Mute) while locking the complex setup keys safely away under a sliding cover so you never accidentally press the wrong thing.
A quick thing to keep in mind before ordering: Modern TVs have shifted a bit under the hood. Traditional universal remotes usually rely on Infrared (IR)—the classic beam where you point the remote directly at the sensor. However, many newer smart TVs use Bluetooth or Radio Frequency (RF) remotes that don’t require line-of-sight. It’s always worth double-checking whether your TV accepts standard IR signals or requires a Bluetooth-compatible universal remote before buying, saving you the hassle of sending back a remote that can’t talk to your screen.
3. External Magnification Aids: TV Glasses & Monoculars
Now that we’ve looked at getting a handle on your remote control, what happens when you just need a bit of extra optical help to see fine detail on screen? That’s where wearable and handheld magnification tools come in.
Instead of leaning forward or pulling a chair right up to the cabinet, these traditional optical aids bring the screen closer to you.
TV Viewing Glasses & Monoculars
• TV Viewing Glasses (Telescopic Spectacles): These sit on your face like heavy-duty glasses, housing individual lenses for each eye. Because sight loss is rarely identical in both eyes, each lens can be focused independently to give you a hands-free, magnified view of the screen.
• Monoculars: A compact, pocket-sized alternative used to “spot-check” specific details on screen—like reading sports scores, checking news tickers, or spotting a face—before setting it back down.
The Honest Downside: Function Over Fashion
Let’s be completely real: these optical aids are strictly about function over fashion.
They are definitely not the sleekest or most attractive devices you’ll ever wear, and they certainly don’t look like high-tech gadgets. Sitting in your living room wearing chunky, binocular-style glasses can feel a bit awkward, especially if you have guests over. But if you can look past the retro, non-glamorous aesthetics, they remain a very practical, low-tech way to grab a quick, sharp look at the screen without straining your eyes.
4. The Accessibility Menu: High-Contrast, Zoom, & Display Options
Whether you’re using optical aids or relying on your remaining vision, the next major hurdle is tackling the TV’s internal menus. Standard factory interfaces are notoriously hard to read—they often use pale white text on translucent grey backgrounds that blend right into whatever program is playing behind them.
Fortunately, almost all modern smart TVs now feature a dedicated Accessibility Menu (usually found under Settings > General > Accessibility) designed to fix this exact problem.
High-Contrast & Colour Tweaks
Inside the accessibility menu, you’ll find features built specifically to make text and options jump off the screen:
• High-Contrast Mode: This feature strips away translucent, busy overlays and places bright yellow or white text against a pitch-black, solid background.
• Inverted Colours & Grayscale: For viewers who find bright screens painful or suffer from glare sensitivity, colour inversion swaps bright backgrounds for dark ones, making menu text pop without straining your eyes.
Menu Magnification & Font Sizes
If you have residual vision but struggle with small, fine print, the accessibility menu offers a few ways to enlarge text without needing to sit inches from the screen:
• Focus Enlarge / Menu Zoom: Features like LG’s Focus Zoom or Samsung’s Accessibility Zoom automatically blow up the specific box, button, or menu item your cursor is currently hovering over.
• Large Text Modes: Toggling this setting increases the default font size across your channel guides, program summaries, and system sub-menus.
5. Making Your TV Talk: Speech Feedback, Screen Readers, & Audio Description
If reading the screen isn’t an option at all, turning on spoken narration gives you total independence. Depending on how much help you need, speech support generally falls into two levels: basic menu speech and full system screen readers.
From Basic Menu Speech to Full Screen Readers
Mainstream TV brands use various names for their speech technology—for example, LG calls its speech features Voice Guidance, Samsung uses Voice Guide, Google TV uses TalkBack, and Amazon Fire TV uses VoiceView.
• System Audio Feedback (Basic Menu Speech): If you just need a bit of vocal reassurance, basic speech feedback announces system settings and adjustments as you move through menus. As you tap the arrow keys, the TV will speak aloud options like “Picture Settings,” “Brightness 50,” or “Network Status.”
• Full Screen Readers: When enabled fully, a screen reader takes over the entire TV experience. Rather than just speaking isolated settings, it reads out Electronic Program Guides (EPG)—narrating channel names, show titles, broadcast times, and summaries—as well as input selections, volume changes, and home screen app tiles.
The App Accessibility Trap
While a TV’s built-in screen reader usually works brilliantly on the main system menus and broadcast TV guides, moving into catch-up and streaming apps can be a mixed bag:
• The Gold Standard (Netflix & BBC iPlayer): These platforms have invested heavily in accessibility. When using a screen reader, they read aloud row headers, movie summaries, episode titles, playback controls, and time elapsed smoothly and reliably.
• The Accessibility Trap (ITVX, Channel 4, My5): Unfortunately, catch-up apps on many smart TV operating systems can be a nightmare for screen reader users. The screen reader often goes completely silent the moment the app opens, leaving you stranded on a grid of unlabelled buttons and blank image tiles.
The Workaround (And the Additional Cost)
If your TV’s built-in apps leave you stuck in a silent void, there is a reliable workaround: plugging in an external streaming device, such as an Apple TV 4K or a Google TV / Fire TV Stick.
Because devices like the Apple TV enforce strict accessibility guidelines across their entire ecosystem, screen readers like VoiceOver work consistently inside almost every app—including ITVX and Channel 4. The downside, of course, is the extra out-of-pocket expense (£40 to £150) just to make the smart TV you already paid for fully usable, but for many, the seamless independent access is worth every penny.
Audio Description (AD) & The Missing Soundtrack
Beyond menu speech and screen readers, Audio Description (AD) is essential for following the visual action of a program. AD adds a dedicated narrator track that speaks during natural pauses in dialogue, describing facial expressions, body language, scene changes, and visual action you’d otherwise miss.
• The Broadcast Inconsistency: While major channels and streaming platforms offer AD for many shows, consistency is notoriously erratic. You might sit down to binge a drama series only to find Episode 1 has full audio description, but Episode 2 randomly drops it—forcing you to wait days or weeks for an updated audio track to appear.
• The Minimum Quota Problem: Under Ofcom regulations, TV broadcasters are only required to audio-describe a baseline of 10% of their total output (though some public broadcasters voluntarily aim for 20%). Sight loss charities continue to campaign for higher targets, but as it stands, that low statutory threshold means huge chunks of programming are broadcast without any description at all.
• The Household Dynamic: There’s also the practical reality of sharing a TV with sighted family members or housemates. While AD and screen readers are essential tools for independence, having a synthetic voice or extra narrator speaking over a movie can be distracting to others in the room.
The Fix: Use a TV or streaming box that supports dual audio output—for example, send screen reader and AD audio directly to a pair of Bluetooth headphones while playing regular program audio through the TV speakers or soundbar—so everyone in the living room can enjoy the show together without compromise.
The Final Takeaway: Finding Your Setup
When it comes to making TV accessible for sight loss, there is no single “correct” way to do it. What works brilliantly for your neighbour might be completely wrong for you. It really comes down to finding the right balance between simplicity, budget, and how much tech you’re comfortable navigating:
• If you want complete simplicity: Tweak your TV picture contrast, set the power-on setting to jump straight to your last channel, and pop a few tactile bump dots on your existing remote.
• If you want reliable voice control and seamless app access: Look into a dedicated platform like Sky Glass / Sky Q, or consider adding an external streaming device like an Apple TV or Fire TV Stick to bypass clunky built-in smart TV software.
• If you need full audio narration: Enable your screen reader and turn on Audio Description—and don’t be afraid to plug in a pair of Bluetooth headphones so you can listen comfortably without driving the rest of the household mad!
Finding the right combination can take a bit of trial and error, but taking back control of your entertainment is well worth the effort.
If you’re still feeling overwhelmed by settings, remotes, or app choices, you don’t have to figure it out alone. Give our Digital Inclusion team a call on 01495 763650 or get in touch through our contact page—we’re always here to help you get your setup working for you.